Natural Stone · Installation & Care
Sealing is not an optional extra for a kitchen backsplash. It is the step that separates a marble wall that ages with grace from one that collects dull spots, dark edges and permanent stains.
Stand in front of a freshly installed polished marble backsplash and the last thing you want to think about is liquid creeping into the stone. The surface is mirror-smooth, the sheen is even, and every showroom display tells you the material is sealed tight. It is not.
The direct answer is yes: you need to seal a polished marble tile backsplash — before grouting, again after the grout cures, and then roughly every 12 to 18 months for as long as the kitchen exists. Skipping the sealer because the surface looks polished is the most common, and most expensive, marble mistake in a kitchen.
The rest of this article explains why polished marble is still porous, what actually damages it in a kitchen, how to choose the right sealer, and how to test exactly when it needs another coat.
Polishing is a mechanical process. Fine abrasives gradually grind the marble surface until it reflects light evenly and feels closed to the touch. What polishing does not do is change the internal structure of the stone. Marble is compressed calcium carbonate — rock formed when limestone was transformed by heat and pressure — and that geology leaves a network of microscopic pores and capillaries running through the entire thickness of the tile.
Two types of damage matter in a kitchen, and they behave very differently:
This distinction shapes the entire care routine. A homeowner who understands that the sealer blocks stains but not acids is far less likely to blame the product when a lemon wedge leaves a matte ring on an otherwise glossy tile.
The simplest reliable sequence has five steps:
Why two coats? The first is a sacrifice layer. During installation, grout, dust, mortar splatter and bare hands all land on the tile. A generous first coat keeps grout pigment and mortar alkalinity away from the calcite. The second coat is the working barrier — the layer that actually protects the backsplash for the year ahead. One coat alone leaves a patchy, thin shield exactly where the demands are highest.
This sequence matters even more if the backsplash is a mosaic, because a mosaic exposes dozens of additional cut edges and grout seams per square metre.
A full-size tile is every bit as porous as a mosaic piece; the mosaic simply gives water more chances to get in, since every joint and cut edge is another potential entry point. And because mosaics are far more labour-intensive to replace, the long-term care for these formats follows the same maintenance requirements for polished marble mosaic tiles.
Sealer wears down gradually. A kitchen with heavy cooking can lose the barrier in nine months; a mostly decorative backsplash can hold it for more than two years. A simple water test tells you which situation you are in:
Test in several spots, concentrating on the wall behind the sink and the area beside the cooktop. Those zones experience the most heat and condensation, so they lose protection first. A steamed splash zone can fail while a cooler corner still beads perfectly.
Not every sealer belongs on a kitchen backsplash. The right choice depends on three questions: will it preserve the polished appearance, will it resist daily heat and food acids, and how long before it needs to be reapplied?
| Sealer family | How it works | Effect on polished finish | Typical lifespan |
|---|---|---|---|
| Penetrating / impregnating | Soaks beneath the surface and bonds inside the stone | None — the polished finish stays exactly as it is | 12–24 months |
| Enhancing sealer | Soaks in and deepens the natural colour of the stone | Adds a subtle richness to the veins | 6–18 months |
| Topical / surface sealer | Leaves a thin film on top of the tile | Adds gloss; can smear and yellow over time | 6–12 months |
For a polished backsplash, choose a penetrating impregnating sealer. Solvent-based formulas absorb deeper and last longer on a high-gloss surface than most water-based blends. The sealer should be invisible after curing; any gloss or film left behind means it is the wrong product.
Stone density also influences the recipe. A compact, tight-grained block accepts a sealer slowly but holds it longer; a softer, more absorbent marble drinks up the first coat and locks it in firmly. Neither behaviour is a defect, but it changes the resealing interval.
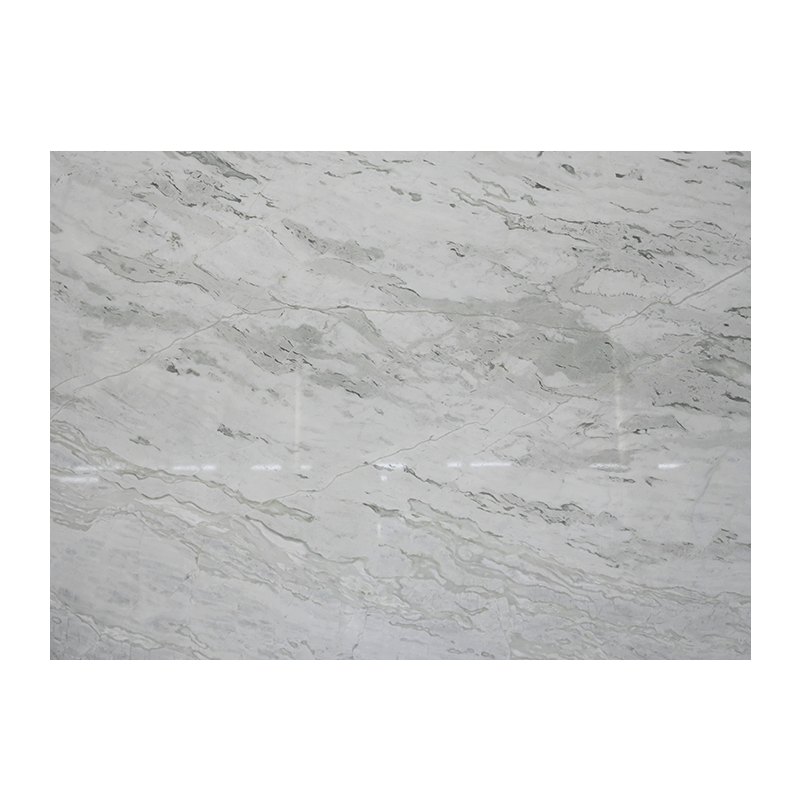
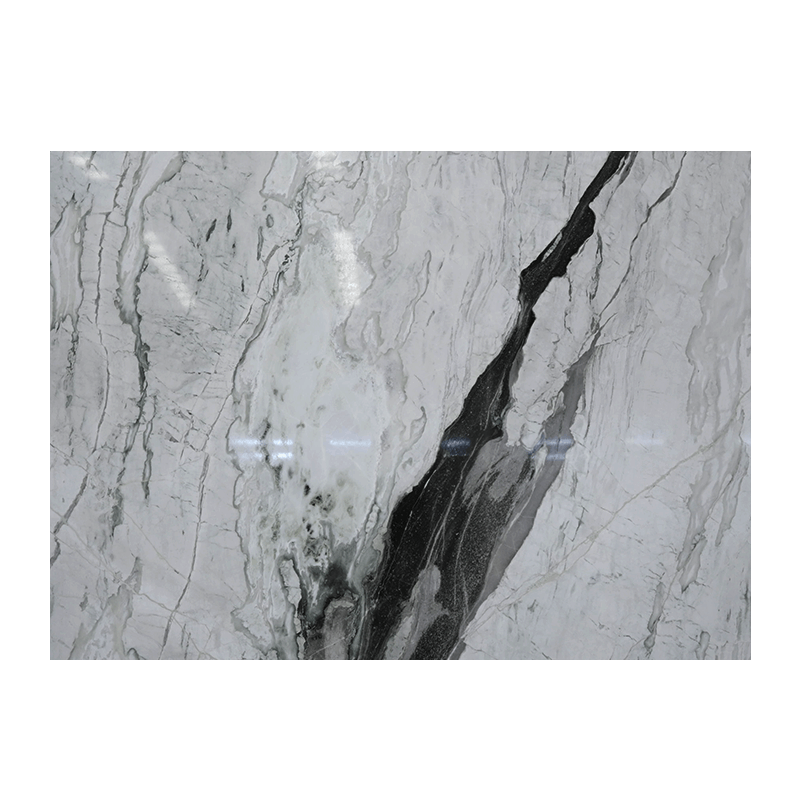
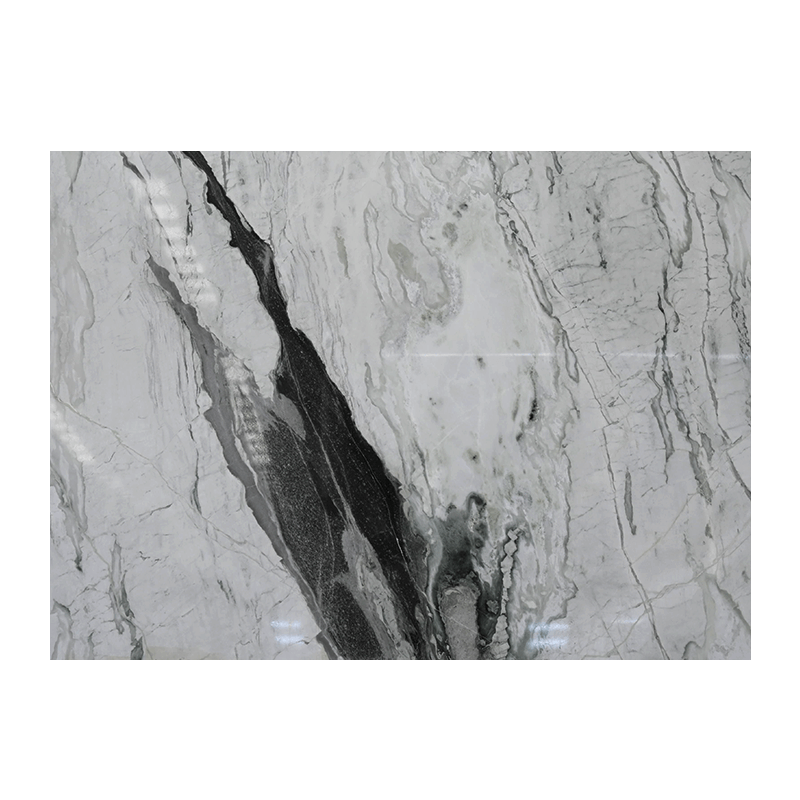
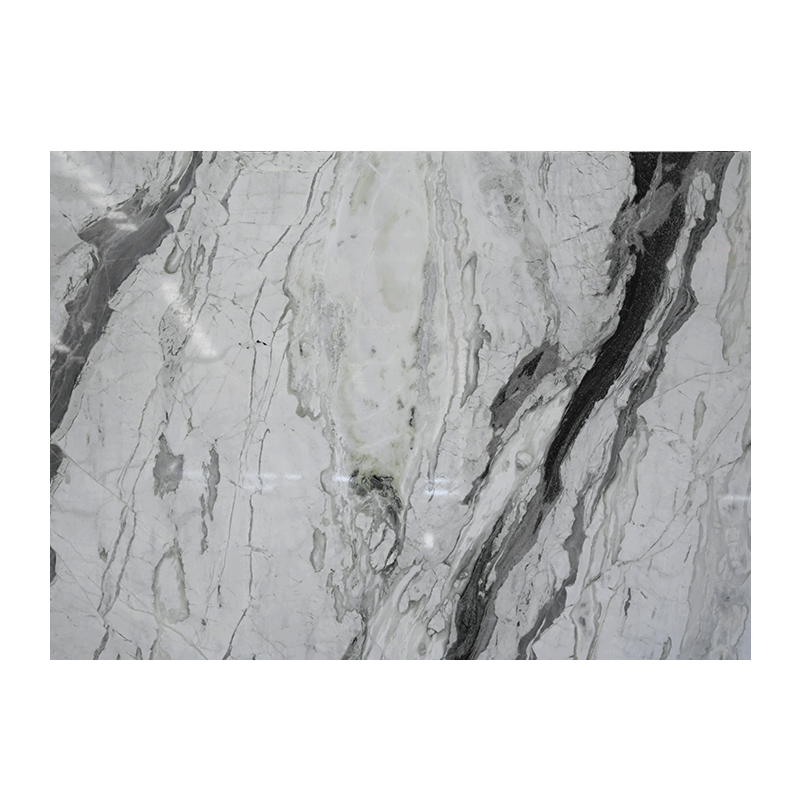
If you are still choosing the material, the sealing requirement applies equally across the palette. A lighter tone simply shows the difference between a fresh and a failing seal more clearly.
A fixed calendar rule — "every 12 months" — is a starting point, not a guarantee. The actual interval is driven by four things:
When in doubt, do the water test. A five-minute check every six months is cheaper, faster and more honest than any fixed resealing schedule.
For most kitchens in regular use, 12 to 18 months is a sound working expectation. If the backsplash sits beside a busy stovetop and sees constant steam, move the interval to the lower end. If it is a purely decorative band behind a coffee corner, the upper end is entirely defensible.
Sealing is straightforward, but homeowners and even experienced crews still make errors that compromise the finished job. Most failures follow one of these patterns:
So, do you need to seal a polished marble tile backsplash? Yes — before grouting, after grouting, and then every time the water test tells you the barrier has gone. A bottle of quality impregnating sealer costs a fraction of what it takes to replace an etched tile or remove a permanent dark watermark from the wall.
Keep expectations realistic as well. Sealing protects against moisture and stains below the surface; it does not turn natural stone into glass. A quick wipe when an acidic spill lands, and a cleaner with a neutral pH, are the two habits that keep polished marble beautiful for a decade.
The reliability of this routine starts with the tile itself. A specialized marble project supplier with close control over quarrying, cutting and finishing will deliver material with consistent density, clean edges and an even polished face.
Tiles that are cut, calibrated and polished to consistent tolerances accept sealer evenly and are far less likely to develop patchy spot protection over time.


Factory Address: NO.8,WEST BINHAI ROAD,LAOBAGANG(JIAOXIE TOWN),BINHAI NEW AREA,HAIAN COUNTY,NANTONG,JIANGSU,CHINA


+86-15221350573

+86-571-86632298
 English
 Español
 русский
 عربى
عربى