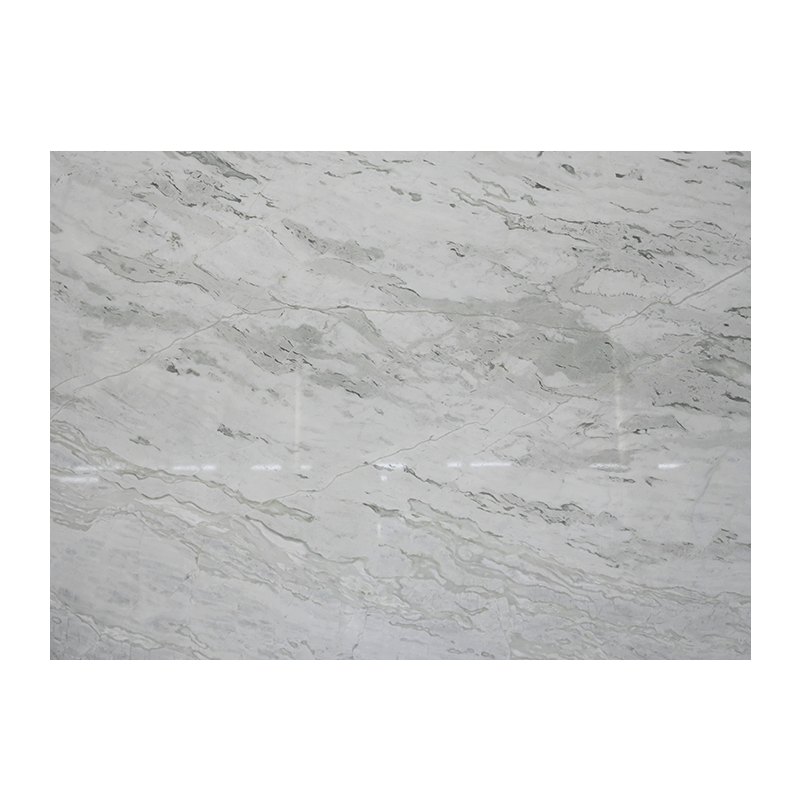
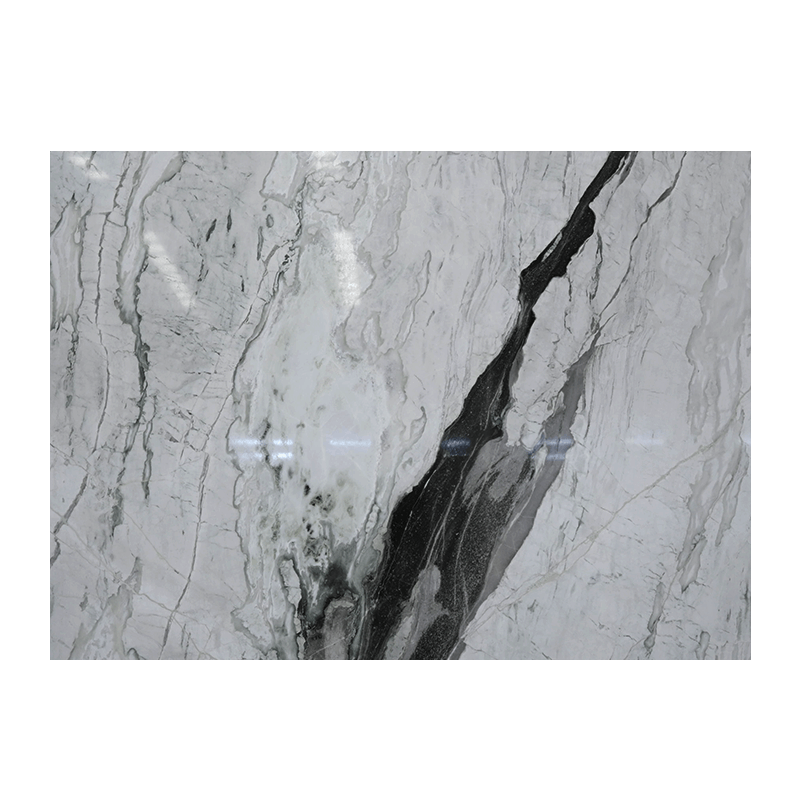
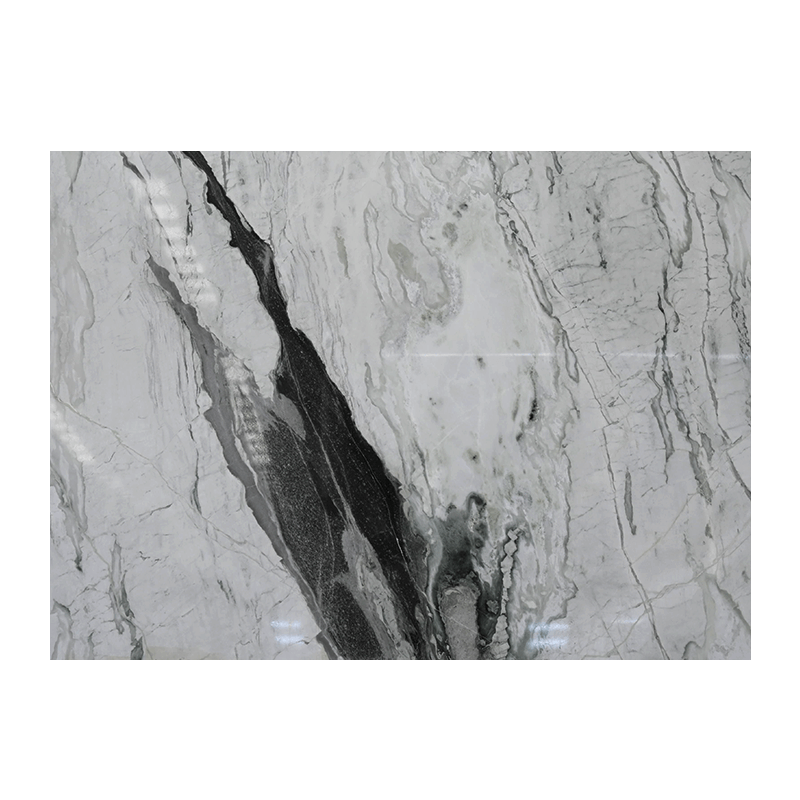
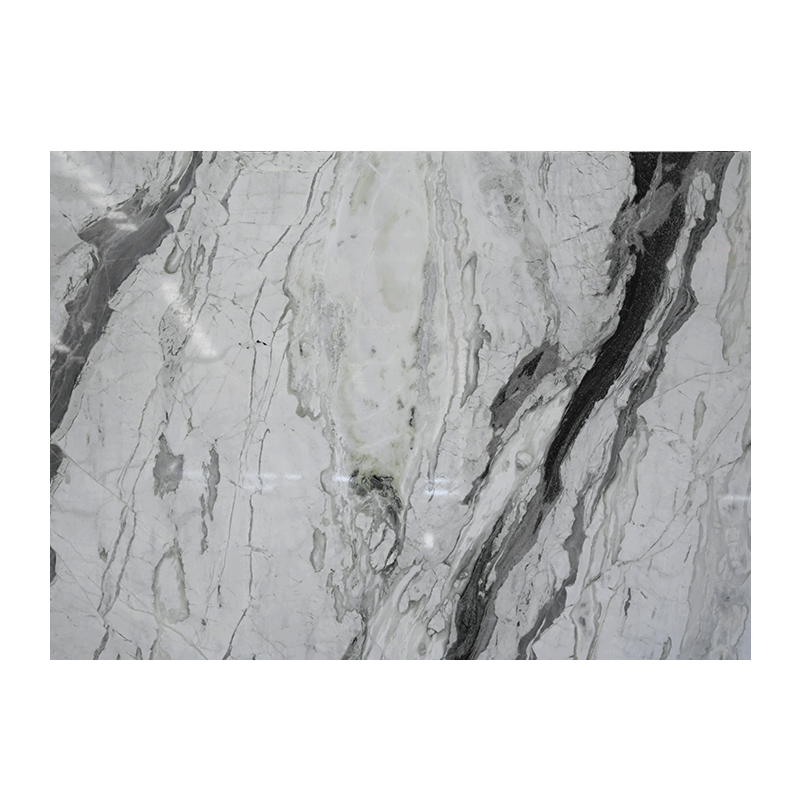
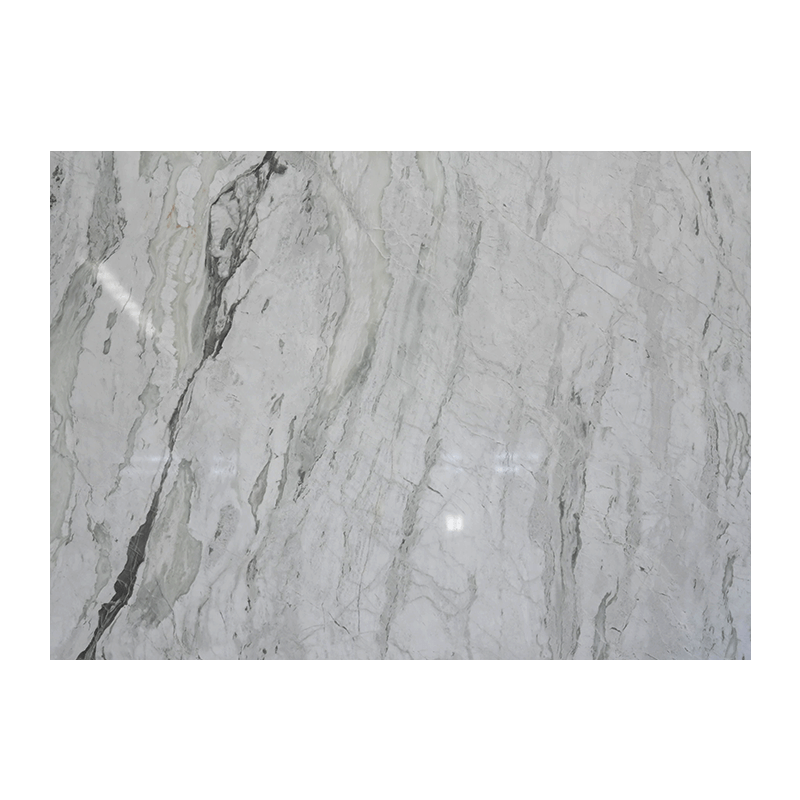
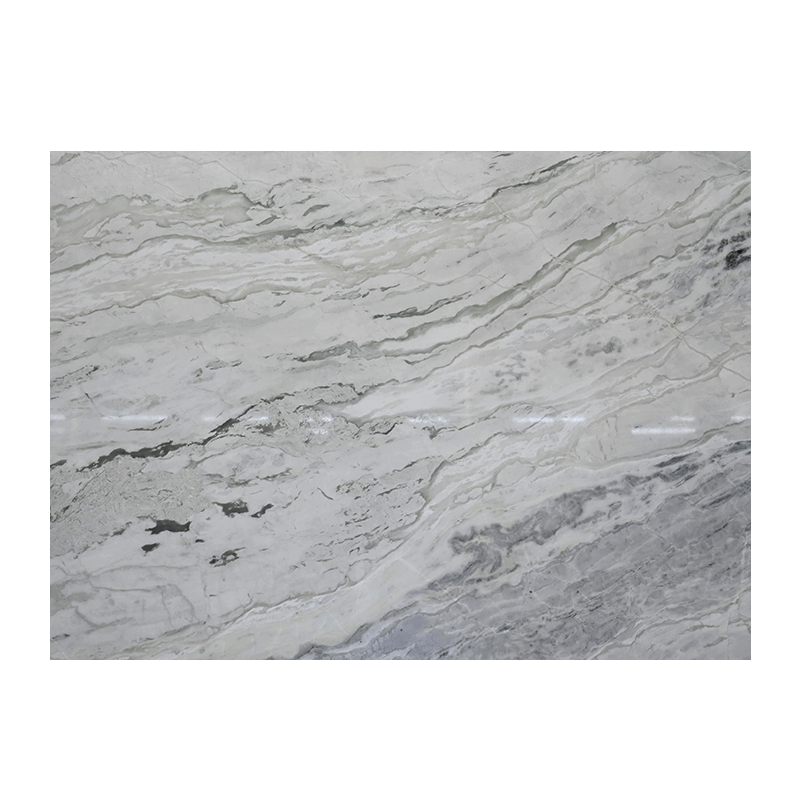
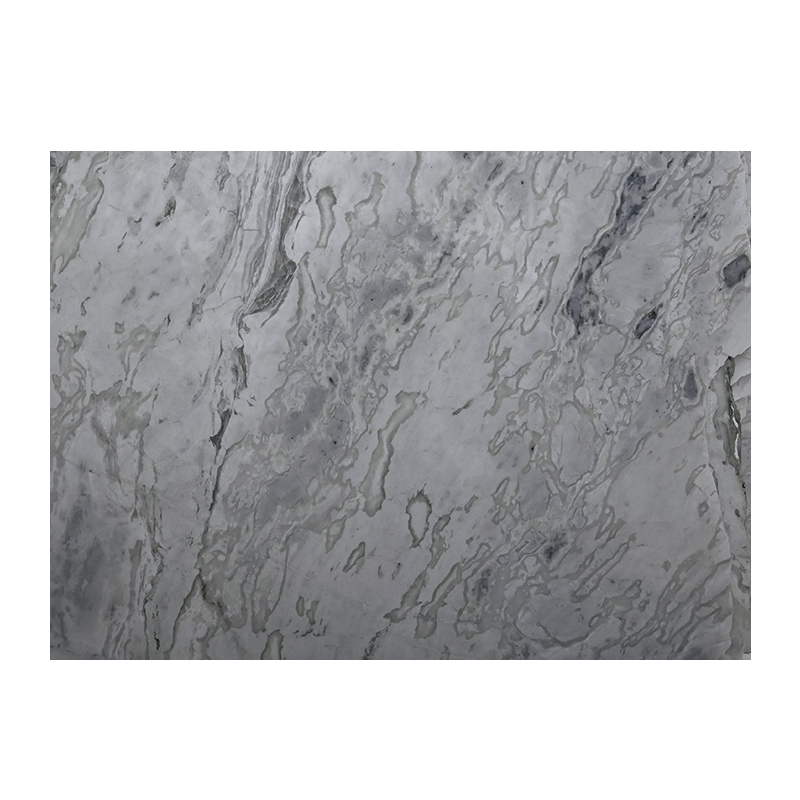
Natural green stone cut into small tesserae, mounted on mesh, and placed where a slab would bend, crack, or overwhelm. The first impression is visual; the lasting result depends on decisions made before the thinset goes down.
When a sample tray of ming green marble mosaic tile first lands on your desk, the reaction is usually visual: the tesserae catch the light, pale veins flash across a deep green field, and the sheet looks like a miniature landscape. What happens later matters more — whether the production batch matches the sample, whether the mesh bends cleanly around a curve, and whether the sealer holds without blotching. Mosaic is one of the most expressive forms of natural stone, and one of the most punishing when the basics are ignored.
The short version: ming green marble mosaic tile performs beautifully when the stone is sourced with discipline, the sheets are fabricated carefully, and the design accounts for natural variation. In the right setting it outshines ceramic lookalikes on depth, durability, and perceived value. In the wrong setting it becomes an expensive lesson in quality control.
A surface made of many small pieces should read as one continuous material. If the eye stops at the grid, the mosaic was chosen for the wrong reason.
Before judging any mosaic, understand the stone inside it. Ming green marble is defined by a deep green matrix and pale, often white, veining that moves in unpredictable ribbons. It polishes to a mirror finish, stays stable in wet areas, and guarantees no two sheets match exactly. That last quality disappoints buyers who expect ceramic uniformity and delights those who plan for movement.
In mosaic form, the stone is sawn into small squares — commonly 1×1 cm, 2×2 cm, or 2.3×2.3 cm — mounted on flexible mesh or paper. Each sheet inherits the tone and vein density of the block it came from; a sheet cut from the middle can sit darker than one from the edge. Installers who accept this variance treat it as a design feature. Choosing ming green means letting the stone, not the grid, lead the design.
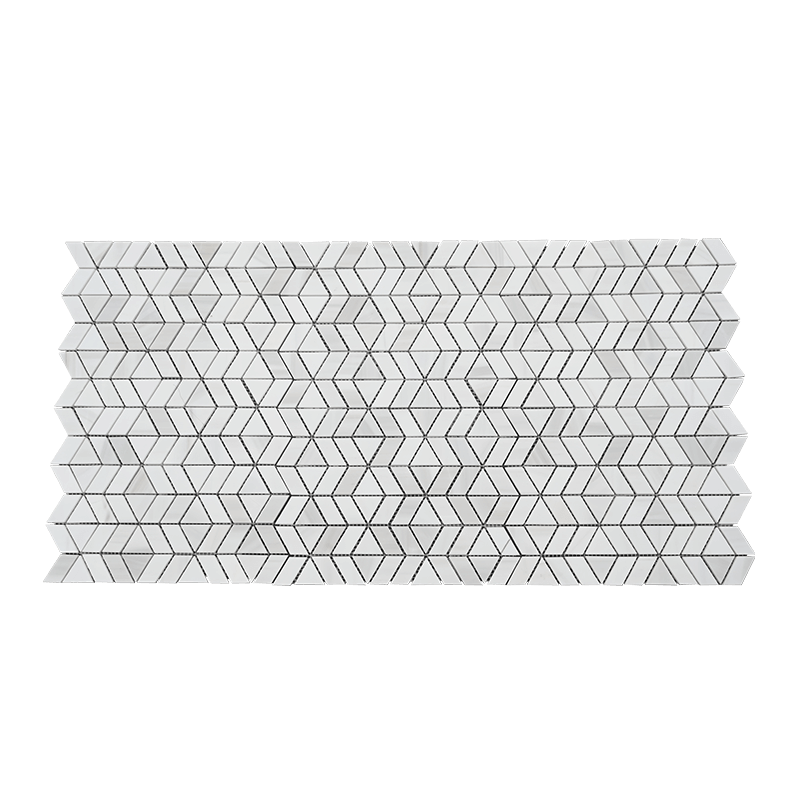 Polished Marble Mosaic Tiles for Custom Gradient DesignsSawn into small squares and mounted on flexible mesh or paper, these handmade marble mosaics offer a gradient effect and suit walls, floors, columns, and stairs in various sizes and styles.View Product →
A full ming green slab is beautiful, but slabs are heavy, hard to curve, and wasteful when a design calls for narrow bands or complex borders. Mosaic solves all three problems at once.
Mosaic is not a universal replacement for slab. It is the more reliable vehicle whenever a design breaks away from a flat plane.
The natural habitat of ming green mosaic is the vertical surface: hotel lobby backdrops, elevator accents, spa walls, restaurant feature bands, and residential shower surrounds. Floors are possible but need more discipline — smaller tesserae, tighter grout, and realistic maintenance expectations.
The same conclusion appears in the supplier's practical overview of occasions where marble mosaic is most suitable: accent walls, wet rooms, and decorative bands lead the list, while full-floor installations fit mainly in light-traffic interiors.
On a wall, you can use larger tesserae and wider grout lines for a geometric expression; on floors, keep the pieces small and the grid tight so the grout provides structural support and slip resistance.
A beautiful sample means little if the production batch drifts from it. Use these checks to separate a serious fabricator from a trader who simply resells imported sheets.
| Inspection point | What to check | Red flags |
|---|---|---|
| Color consistency | Hold several sheets side by side in natural daylight | One sheet clearly darker or greyer than its neighbors |
| Tessera thickness | Measure across the sheet with a caliper and view the profile from the side | Variation beyond 1 mm shows up as lippage after installation |
| Mesh backing | Gently peel a corner back and re-press it | Mesh tears easily, or adhesive stays on the stone instead of the mesh |
| Resin distribution | Inspect the back of the tesserae under strong light | Uneven resin pools that block grout penetration or create hard spots |
| Edges and corners | Tilt the sheet against light and scan the faces | Chipped corners or rounded edges that appear as white flecks once installed |
| Batch traceability | Ask which block or production batch the mosaic was cut from | The supplier cannot identify the batch or block origin |
A recurring fault in low-priced imports is weak mesh adhesion. If the mesh separates during installation, the pattern drifts, corners pop out of the thinset, and the finished wall looks like a failed puzzle. Pull a corner of the backing before you buy; this one two-second test explains more installation failures than any other factor.
Polished is the default finish, turning the green field into a dark reflective surface; a honed finish suits floors and areas near basins where gloss shows fingerprints. Specify finish in writing, because switching later is expensive.
Tessera size changes the reading of the room. Dense 1×1 cm sheets feel traditional and flex around curves; 2×2 cm and 2.5 cm sheets look more contemporary and leave fewer grout lines. Strip mosaics suit linear details, skirting, and shower niches.
Custom formats are where a processing factory earns its keep. A supplier that cuts and mounts its own mosaics can adjust dimensions and spacing to your drawings. When the factory also runs a finished-product processing line, color, dimension, and delivery sit under one roof — an advantage on any natural stone contract.
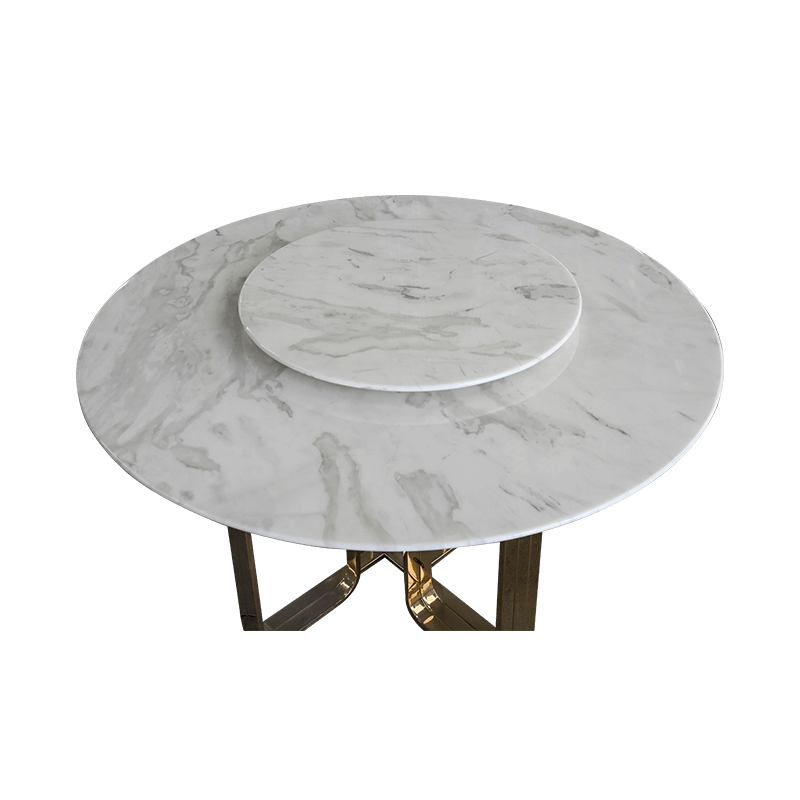 Custom Marble Finished Products and Edge Processing ServicesFactory processing turns marble into stair steps, countertops, and special-shaped ornaments, with cutting, grinding, chamfering, and polishing done to customer dimensions for direct installation.View Product →
Ming green mosaic quality is decided before the saw touches the block. A sound, dense block cuts evenly and polishes consistently; a mixed block produces ghosting — dull grey patches beside healthy neighbors.
A supplier who traces mosaic back to its own block program can explain where the green comes from and how it behaves across batches. That upstream visibility is rare, and it is what long-lead buyers seek: the batch approved at sample stage is the batch that arrives on site.
Pinhe Stone Industry's product structure reflects this logic. Green marble blocks sit at the top of the chain, and the mosaic program builds on the same material family, keeping color language consistent across large contracts.
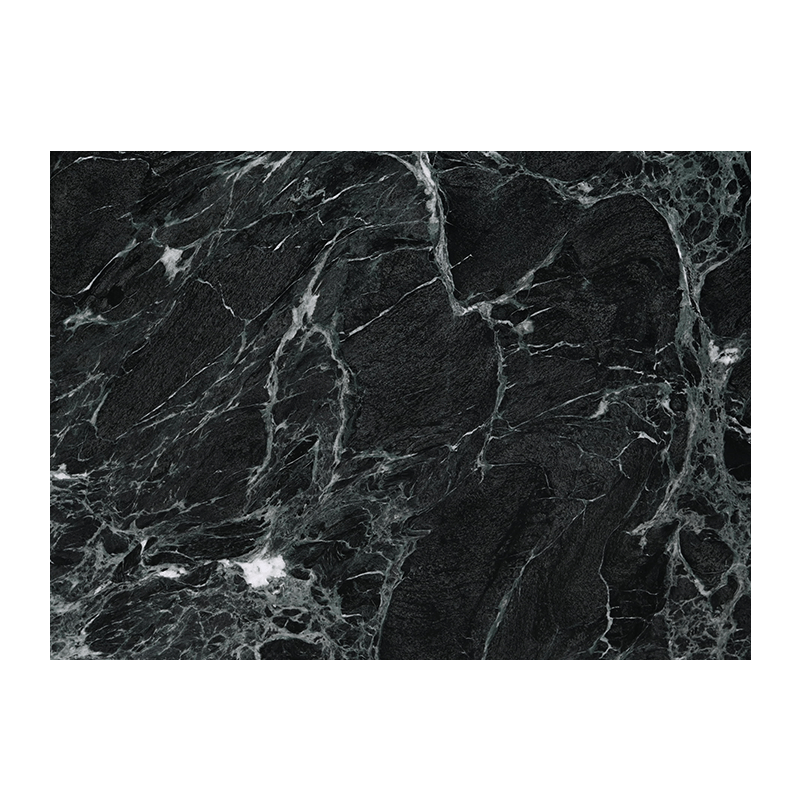 Green Marble Blocks with Natural Veining for Interior and Outdoor UseFresh green stone blocks with varying shades and veins suit bathroom walls, courtyard floors, and park landscapes, providing an elegant, natural atmosphere for casual spaces.View Product →
The installation phase decides whether the mosaic reads as one seamless surface or as a patchwork of small disagreements. Apply thinset with a properly sized trowel and back-butter each sheet for full coverage; stagger the sheet joints and press flat to avoid a lip at the mesh edge.
On shower floors, build the slope in the mortar bed before setting mosaic — small pieces follow a slope but will not create one. Grout color matters: pale grey or warm off-white complements the veining, while dark grout makes the wall read as a single block.
Sealing is non-negotiable. Use a penetrating sealer made for natural marble after the grout cures, so stone and grout both receive protection.
A sealed ming green mosaic in a residential shower typically needs resealing every 12 to 18 months. In commercial lobbies and high-traffic areas, plan for every 6 to 12 months, depending on cleaning agents and foot traffic.
Never clean ming green with vinegar, lemon-based formulas, bleach, or acidic descalers. Acids etch the polish and lighten the green in irregular blotches that will require professional repolishing.
Teams that stick to a mild pH-neutral routine notice the green deepens over time. Because the mosaic is made of small pieces, most damage stays limited to individual tesserae, which are far easier to match and replace than a full slab.
Every failed ming green project traces to one of three shortcuts: choosing a beautiful sample without checking the batch, trusting a trader who does not know the block, or skipping the sealing schedule.
Ask for a production sample cut from the actual block intended for your order. Approve color as a range, not a single chip. Test the mesh. Put finish, size, and spacing in writing. Build resealing into the handover documents.
Ming green marble mosaic tile rewards the same discipline as every great natural stone project: honest sourcing, careful fabrication, and installation support from people who know the material from block to finished wall. Do those well, and the quiet confidence of the stone will carry every surface it touches.


Factory Address: NO.8,WEST BINHAI ROAD,LAOBAGANG(JIAOXIE TOWN),BINHAI NEW AREA,HAIAN COUNTY,NANTONG,JIANGSU,CHINA


+86-15221350573

+86-571-86632298
 English
 Español
 русский
 عربى
عربى